
In the realm of emergency medical care, the Israeli Bandage has emerged as a crucial tool, renowned for its effectiveness in controlling severe bleeding. However, using this bandage in a low - light environment presents unique challenges. As a supplier of Israeli Bandages, I've witnessed firsthand the importance of understanding how to use this life - saving device under less - than - ideal conditions.
Understanding the Israeli Bandage
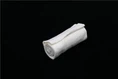
Before delving into the specifics of using the Israeli Bandage in low - light, it's essential to understand its design and functionality. The Israeli Bandage, also known as the emergency bandage, is a self - adhering pressure dressing. It typically consists of a large, absorbent pad attached to a long, elastic band. The pad is designed to cover and apply pressure to the wound, while the elastic band secures the pad in place and can be tightened to increase pressure as needed.

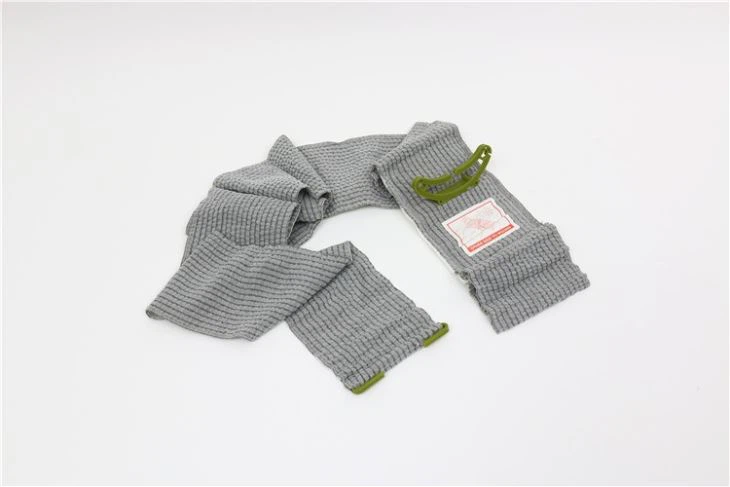
There are different sizes of Israeli Bandages available, such as the 6 Inch Israeli Trauma Dressing Bandage and the 4 Inch Israeli Trauma Dressing Bandage. The larger size is suitable for bigger wounds, while the smaller one can be used for more minor or smaller - area injuries. The Military Trauma Bandage is another variant, often used in military settings due to its durability and effectiveness.
Challenges in Low - Light Environments
Using an Israeli Bandage in a low - light environment is fraught with difficulties. Visibility is severely limited, making it hard to accurately locate the wound. In a high - stress situation, such as a battlefield or a natural disaster, finding the exact site of bleeding becomes even more challenging. The dark environment can also make it difficult to distinguish the different parts of the bandage, like the absorbent pad and the elastic band.
Moreover, the tactile feedback that one relies on in normal lighting conditions may be less reliable. For example, feeling the edges of the wound to ensure proper placement of the pad can be more difficult when you can't clearly see what you're doing. There's also the risk of accidentally dropping the bandage or misplacing it in the dark, which can waste precious time in a life - threatening situation.
Preparation for Low - Light Use
Preparation is key when it comes to using an Israeli Bandage in a low - light environment. First and foremost, familiarize yourself with the bandage in normal lighting conditions. Practice opening the packaging, unfolding the bandage, and applying it to a mock wound. This muscle memory will be invaluable when you're in a dark and stressful situation.
Keep a reliable light source on hand. A small, high - intensity flashlight can be a lifesaver. Make sure it's easily accessible, perhaps attached to your belt or in a pocket. Some modern flashlights are also designed to be hands - free, which can be extremely useful when you need both hands to handle the bandage.
It's also a good idea to organize your emergency kit in a way that makes it easy to find the Israeli Bandage in the dark. For example, you could use different textures or shapes on the packaging to distinguish it from other items. You might also consider using glow - in - the - dark markers on the bandage or its packaging to make it more visible in low - light.
Step - by - Step Guide to Using the Israeli Bandage in Low - Light
Step 1: Locate the Wound
Use your light source to quickly scan the area and find the wound. If possible, have someone else assist you by shining the light while you focus on the bandage application. If there's no one to help, use a hands - free light. Run your fingers gently over the area to feel for the source of bleeding. Be careful not to apply too much pressure, as this could dislodge any clots that may have formed.
Step 2: Open the Packaging
In the dark, it can be a bit tricky to find the opening of the bandage packaging. If you've practiced this in normal light, you'll have a better idea of where to look. Use your fingers to feel for the tear strip or the opening mechanism. Once you've found it, tear open the package carefully, being careful not to drop the bandage.
Step 3: Unfold the Bandage
Unfold the Israeli Bandage using your sense of touch. You should be able to feel the absorbent pad and the elastic band. If you're having trouble distinguishing between the two, remember that the pad is usually thicker and softer, while the elastic band is thinner and stretchy.
Step 4: Apply the Pad to the Wound
Place the absorbent pad directly over the wound. Use your fingers to center it as best as you can. Apply gentle pressure to the pad to start controlling the bleeding. If you can, use your light source to briefly check that the pad is covering the wound properly.
Step 5: Secure the Bandage
Start wrapping the elastic band around the injured area. Begin at one end of the pad and work your way around. Make sure the bandage is snug but not too tight, as excessive tightness can cut off circulation. As you wrap, use your fingers to smooth out any wrinkles in the bandage to ensure even pressure distribution.
Step 6: Tighten the Bandage
Once you've wrapped the bandage around the wound, you may need to tighten it further to increase pressure. Most Israeli Bandages have a clip or a buckle mechanism for this purpose. Use your fingers to find the clip and adjust the tension of the bandage. Again, use your light source to briefly check that the clip is secure and the bandage is tight enough to control the bleeding.
Post - Application Checks
After applying the Israeli Bandage, it's important to perform some post - application checks. Use your light to check for any signs of continued bleeding around the edges of the bandage. If you see blood seeping out, you may need to re - position the pad or tighten the bandage further.
Also, check the circulation in the area below the wound. Gently squeeze a finger or a toe on the affected limb and see how quickly the color returns. If it takes a long time, the bandage may be too tight, and you'll need to loosen it slightly.
Training and Practice
Training and practice are essential for using an Israeli Bandage effectively in a low - light environment. Participate in first - aid training courses that specifically cover the use of this bandage in challenging conditions. These courses often include simulated low - light scenarios where you can practice your skills.
You can also practice on your own. Set up a mock low - light environment at home, such as a darkened room, and practice applying the bandage to a dummy or a friend (with their consent). This will help you build confidence and improve your speed and accuracy.
Conclusion
Using an Israeli Bandage in a low - light environment is a challenging but manageable task. With proper preparation, training, and a calm mindset, you can effectively use this life - saving device even in the darkest of situations. As a supplier of Israeli Bandages, I'm committed to providing high - quality products and promoting awareness of their proper use.
If you're interested in purchasing Israeli Bandages for your emergency preparedness needs, whether for personal, military, or professional use, I encourage you to reach out for a detailed discussion. We can talk about the different sizes and types available, pricing, and how to best incorporate these bandages into your emergency plans.
References
- American Red Cross. First Aid and CPR/AED Participant's Manual.
- Military Medical Training Resources. Trauma Care Training Guides.