

Hey there! As a supplier of training bandages, I've seen firsthand how important it is to know how to remove these bandages safely. Training bandages are super useful in various scenarios, whether it's for first - aid training or actual light injury support. But improper removal can cause unnecessary discomfort or even harm. So, let's dive right into the steps of safely removing a training bandage.
Understanding Your Training Bandage
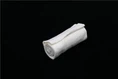
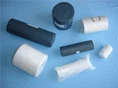
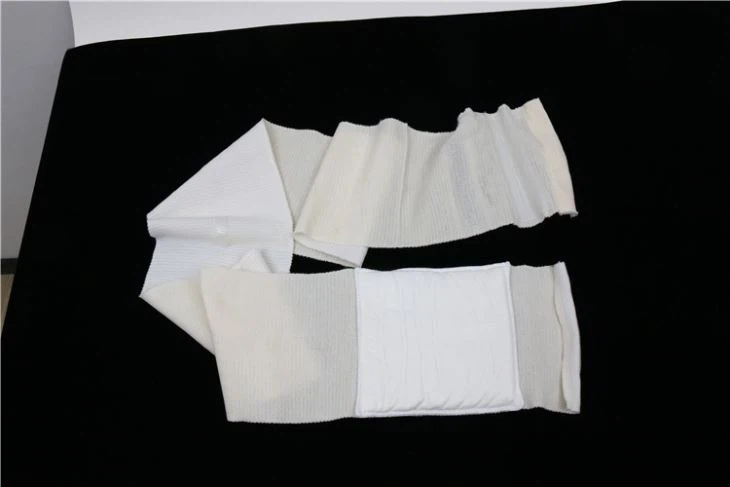
Before we start the removal process, it's crucial to understand the type of training bandage you're dealing with. We offer different kinds, like the 6 Inch Training Bandage, the Abdominal Training Bandage, and the 4 Inch Training Bandage. Each has its own design and features, which can affect how you should remove it.
The 6 - inch bandage is wider and often used for larger areas, like the thigh or upper arm. The abdominal bandage is specifically shaped to fit around the abdomen, and the 4 - inch one is great for smaller joints or areas. Knowing the bandage type helps you anticipate how it might be stuck and what kind of pressure points to be aware of.
Preparing for Removal
First things first, make sure you have a clean and comfortable space. You don't want to be in a rush or in an awkward position when removing the bandage. Wash your hands thoroughly with soap and water. This helps prevent any bacteria from getting into the area where the bandage was.
If the bandage has been on for a long time, it might have adhered more strongly. In such cases, you can use a little bit of warm water or a mild, skin - friendly oil. Gently soak a cotton ball or a soft cloth in the warm water or oil and apply it to the edges of the bandage. Let it sit for a few minutes. This will help loosen the adhesive and make the removal process much easier.
The Removal Process
Step 1: Start at the Edges
When you're ready to remove the bandage, start by slowly peeling up one edge. Do this gently, at a low angle. If you pull the bandage straight up, it can tug on the skin and cause pain. You want to work gradually, feeling for any resistance. If you encounter a spot where the bandage seems really stuck, stop and apply a little more of that warm water or oil.
Step 2: Follow the Direction of Hair Growth
This is a really important tip. Pulling the bandage against the direction of hair growth can be extremely painful and might even cause hair to be pulled out, which can lead to irritation. So, take a moment to figure out the direction of the hair on the area where the bandage is. Then, remove the bandage in that same direction.
Step 3: Take Your Time
Don't rush the process. If you try to yank the bandage off quickly, you could end up hurting the person. It's better to be slow and steady. As you're removing the bandage, keep an eye on the skin underneath. Look for any signs of redness, irritation, or if the skin seems to be coming off with the bandage. If you notice anything abnormal, stop immediately.

Step 4: Check for Residue
Once the bandage is off, there might be some adhesive residue left on the skin. You can use a little bit of the same oil or a mild soap and water to clean it off. Gently rub the area with a soft cloth to get rid of the sticky stuff. Be careful not to rub too hard, as the skin might already be a bit sensitive.
Special Considerations
For Children
If you're removing a training bandage from a child, it's even more important to be gentle. Children's skin is thinner and more delicate than adults'. You might need to distract them while you're removing the bandage. You can tell them a story, sing a song, or make a funny face. It'll help keep them calm and make the process easier for both of you.
For Sensitive Skin
Some people have sensitive skin that can react more strongly to the bandage and the adhesive. If you're dealing with sensitive skin, use extra caution. You can try using a hypoallergenic bandage in the first place. And when removing it, make sure to be as gentle as possible. You might also want to apply a soothing cream or lotion after removing the bandage to help calm the skin.
If the Bandage is Stuck Due to Wound Discharge
Sometimes, if there's been a wound underneath the bandage and it's had some discharge, the bandage can stick more firmly. In this case, don't try to force it off. Instead, soak the area with warm water and a mild antiseptic solution. Let it soak for a while until the bandage starts to loosen. Then, carefully remove it as described above.
Aftercare
After removing the training bandage, take a good look at the skin. If it's red or irritated, you can apply a cold compress to reduce swelling and soothe the area. You can use a clean cloth soaked in cold water or an ice pack wrapped in a thin towel. Leave it on for about 10 - 15 minutes.
If there are any signs of an allergic reaction, like itching, hives, or swelling that doesn't go down, it's a good idea to consult a doctor. And if the area was being treated for a wound, make sure to keep it clean and covered with a new, clean bandage if necessary.
Why Our Training Bandages?
As a supplier of training bandages, I can tell you that our products are top - notch. We use high - quality materials that are gentle on the skin but still provide great support. Our bandages are designed to be easy to apply and remove, which is super important for a positive experience. Whether it's for training purposes or for actual use, you can trust our bandages to do the job right.
If you're in the market for training bandages, we'd love to have a chat with you. We can offer great deals and provide you with all the information you need to make the right choice. Whether you need a small batch for a first - aid training course or a large order for a medical facility, we've got you covered. Reach out to us for procurement and let's start a great partnership.
References
- American Academy of Dermatology. Guidelines for skin care after bandage removal.
- World Health Organization. Best practices for first - aid bandage application and removal.