

Hey there! As a supplier of training bandages, I've seen a lot of folks out there struggling with how to properly apply these things. It's not as complicated as it might seem at first, but there are definitely some tips and tricks that can make the whole process a whole lot easier and more effective. So, let's dive in and talk about how you can properly apply a training bandage.
Understanding Your Training Bandage
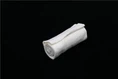
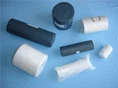
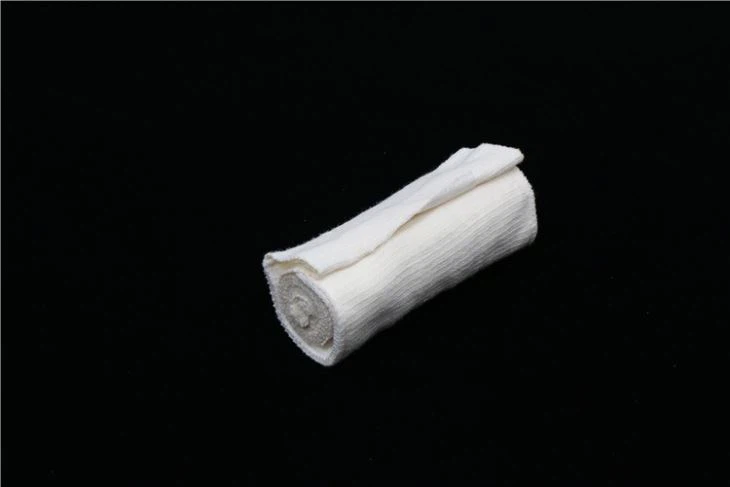
First things first, you need to understand the different types of training bandages we offer. We've got the 4 Inch Training Bandage, which is great for smaller areas like wrists, ankles, or fingers. It's flexible and easy to maneuver around those tricky joints. Then there's the 6 Inch Training Bandage, which is a bit wider and works well for larger areas such as knees, elbows, or the lower back. And if you're dealing with abdominal injuries or need some extra support in that area, our Abdominal Training Bandage is the way to go.
Preparing for Application
Before you start wrapping, make sure the area you're going to bandage is clean and dry. Any dirt or moisture can cause the bandage to slip or not adhere properly. If there are any cuts or abrasions, it's a good idea to cover them with a sterile dressing first to prevent infection. You'll also want to gather all the supplies you need, like scissors and a roll of tape to secure the end of the bandage.
Applying the Bandage
Let's start with the basics of how to wrap the bandage. You want to start at the farthest point from the heart and work your way up towards the body. This helps with blood circulation and reduces the risk of swelling. For example, if you're bandaging an ankle, start at the base of the toes and work your way up towards the calf.
When you're wrapping, keep the bandage snug but not too tight. You should be able to fit one finger between the bandage and your skin. If it's too tight, it can cut off circulation and cause more problems. If it's too loose, it won't provide the support you need.
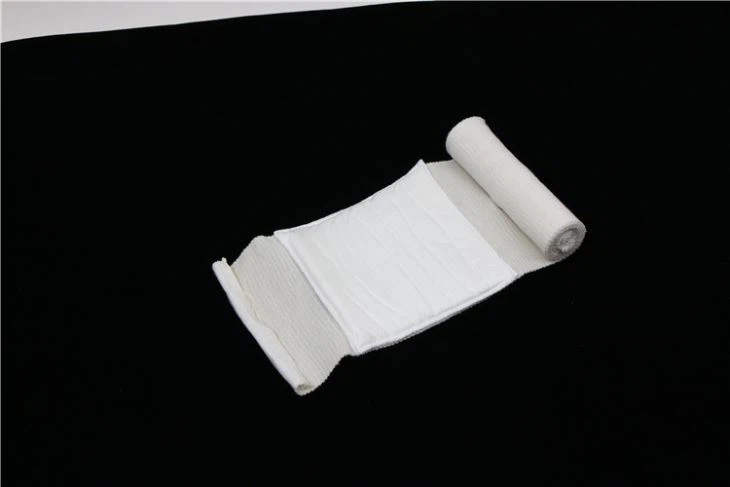
As you wrap, overlap each layer of the bandage by about half of its width. This helps to keep the bandage in place and provides even support. Make sure to keep the bandage smooth and free of wrinkles as you go. Wrinkles can cause pressure points and make the bandage uncomfortable.
Specific Application Techniques
Ankle Bandaging
For an ankle, start by wrapping the bandage around the ball of the foot once. Then, bring the bandage up and over the outside of the ankle, across the top of the foot, and under the inside of the ankle. Repeat this figure-eight pattern several times, making sure to cover the entire ankle joint. Finish by wrapping the bandage around the lower part of the calf to secure it.
Knee Bandaging
When bandaging a knee, start by wrapping the bandage around the thigh just above the knee. Then, bring the bandage down over the front of the knee, around the back of the knee, and up over the front again. Keep repeating this pattern, overlapping each layer as you go. Finish by wrapping the bandage around the lower part of the thigh to hold it in place.
Abdominal Bandaging
The abdominal training bandage is a bit different. Start by lying down on your back. Place the bandage under your lower back and bring the ends up over your abdomen. Cross the ends over each other in the middle of your abdomen and then bring them back down to the sides. Wrap the ends around your back and then bring them back to the front to secure the bandage. Make sure it's snug but not too tight, as you need to be able to breathe comfortably.
Securing the Bandage
Once you've finished wrapping, use a piece of tape to secure the end of the bandage. Make sure the tape is stuck firmly but not so tight that it pulls on your skin. You can also use safety pins if you don't have tape, but be careful not to poke yourself.
Checking for Comfort and Circulation
After you've applied the bandage, check to make sure it's comfortable. You should be able to move the area freely without any pain or discomfort. Also, check the circulation in the area. Look for any signs of swelling, numbness, or tingling. If you notice any of these things, it means the bandage is too tight and you need to loosen it.
When to Replace the Bandage
Training bandages should be replaced regularly. If the bandage gets wet, dirty, or starts to lose its elasticity, it's time to put on a new one. Also, if you're using the bandage for an injury and the pain or swelling gets worse, take off the bandage and seek medical attention.
Conclusion
Properly applying a training bandage is an important skill that can help you prevent injuries and support your body during physical activity. By following these tips and techniques, you can make sure you're using our training bandages effectively.
If you're interested in purchasing our high-quality training bandages or have any questions about how to use them, don't hesitate to reach out. We're here to help you find the right products for your needs and ensure you get the most out of them. Whether you're an athlete, a fitness enthusiast, or someone recovering from an injury, our training bandages can provide the support you need.
References
- American Red Cross. First Aid Manual.
- Mayo Clinic. Sports Injuries: First Aid.